The Bird Feeder Digital Download is a file I have been wanting to make for a while. My little bear (2 year old daughter) is fascinated by birds of late and I thought this would help keep her wide eyed for a bit longer.

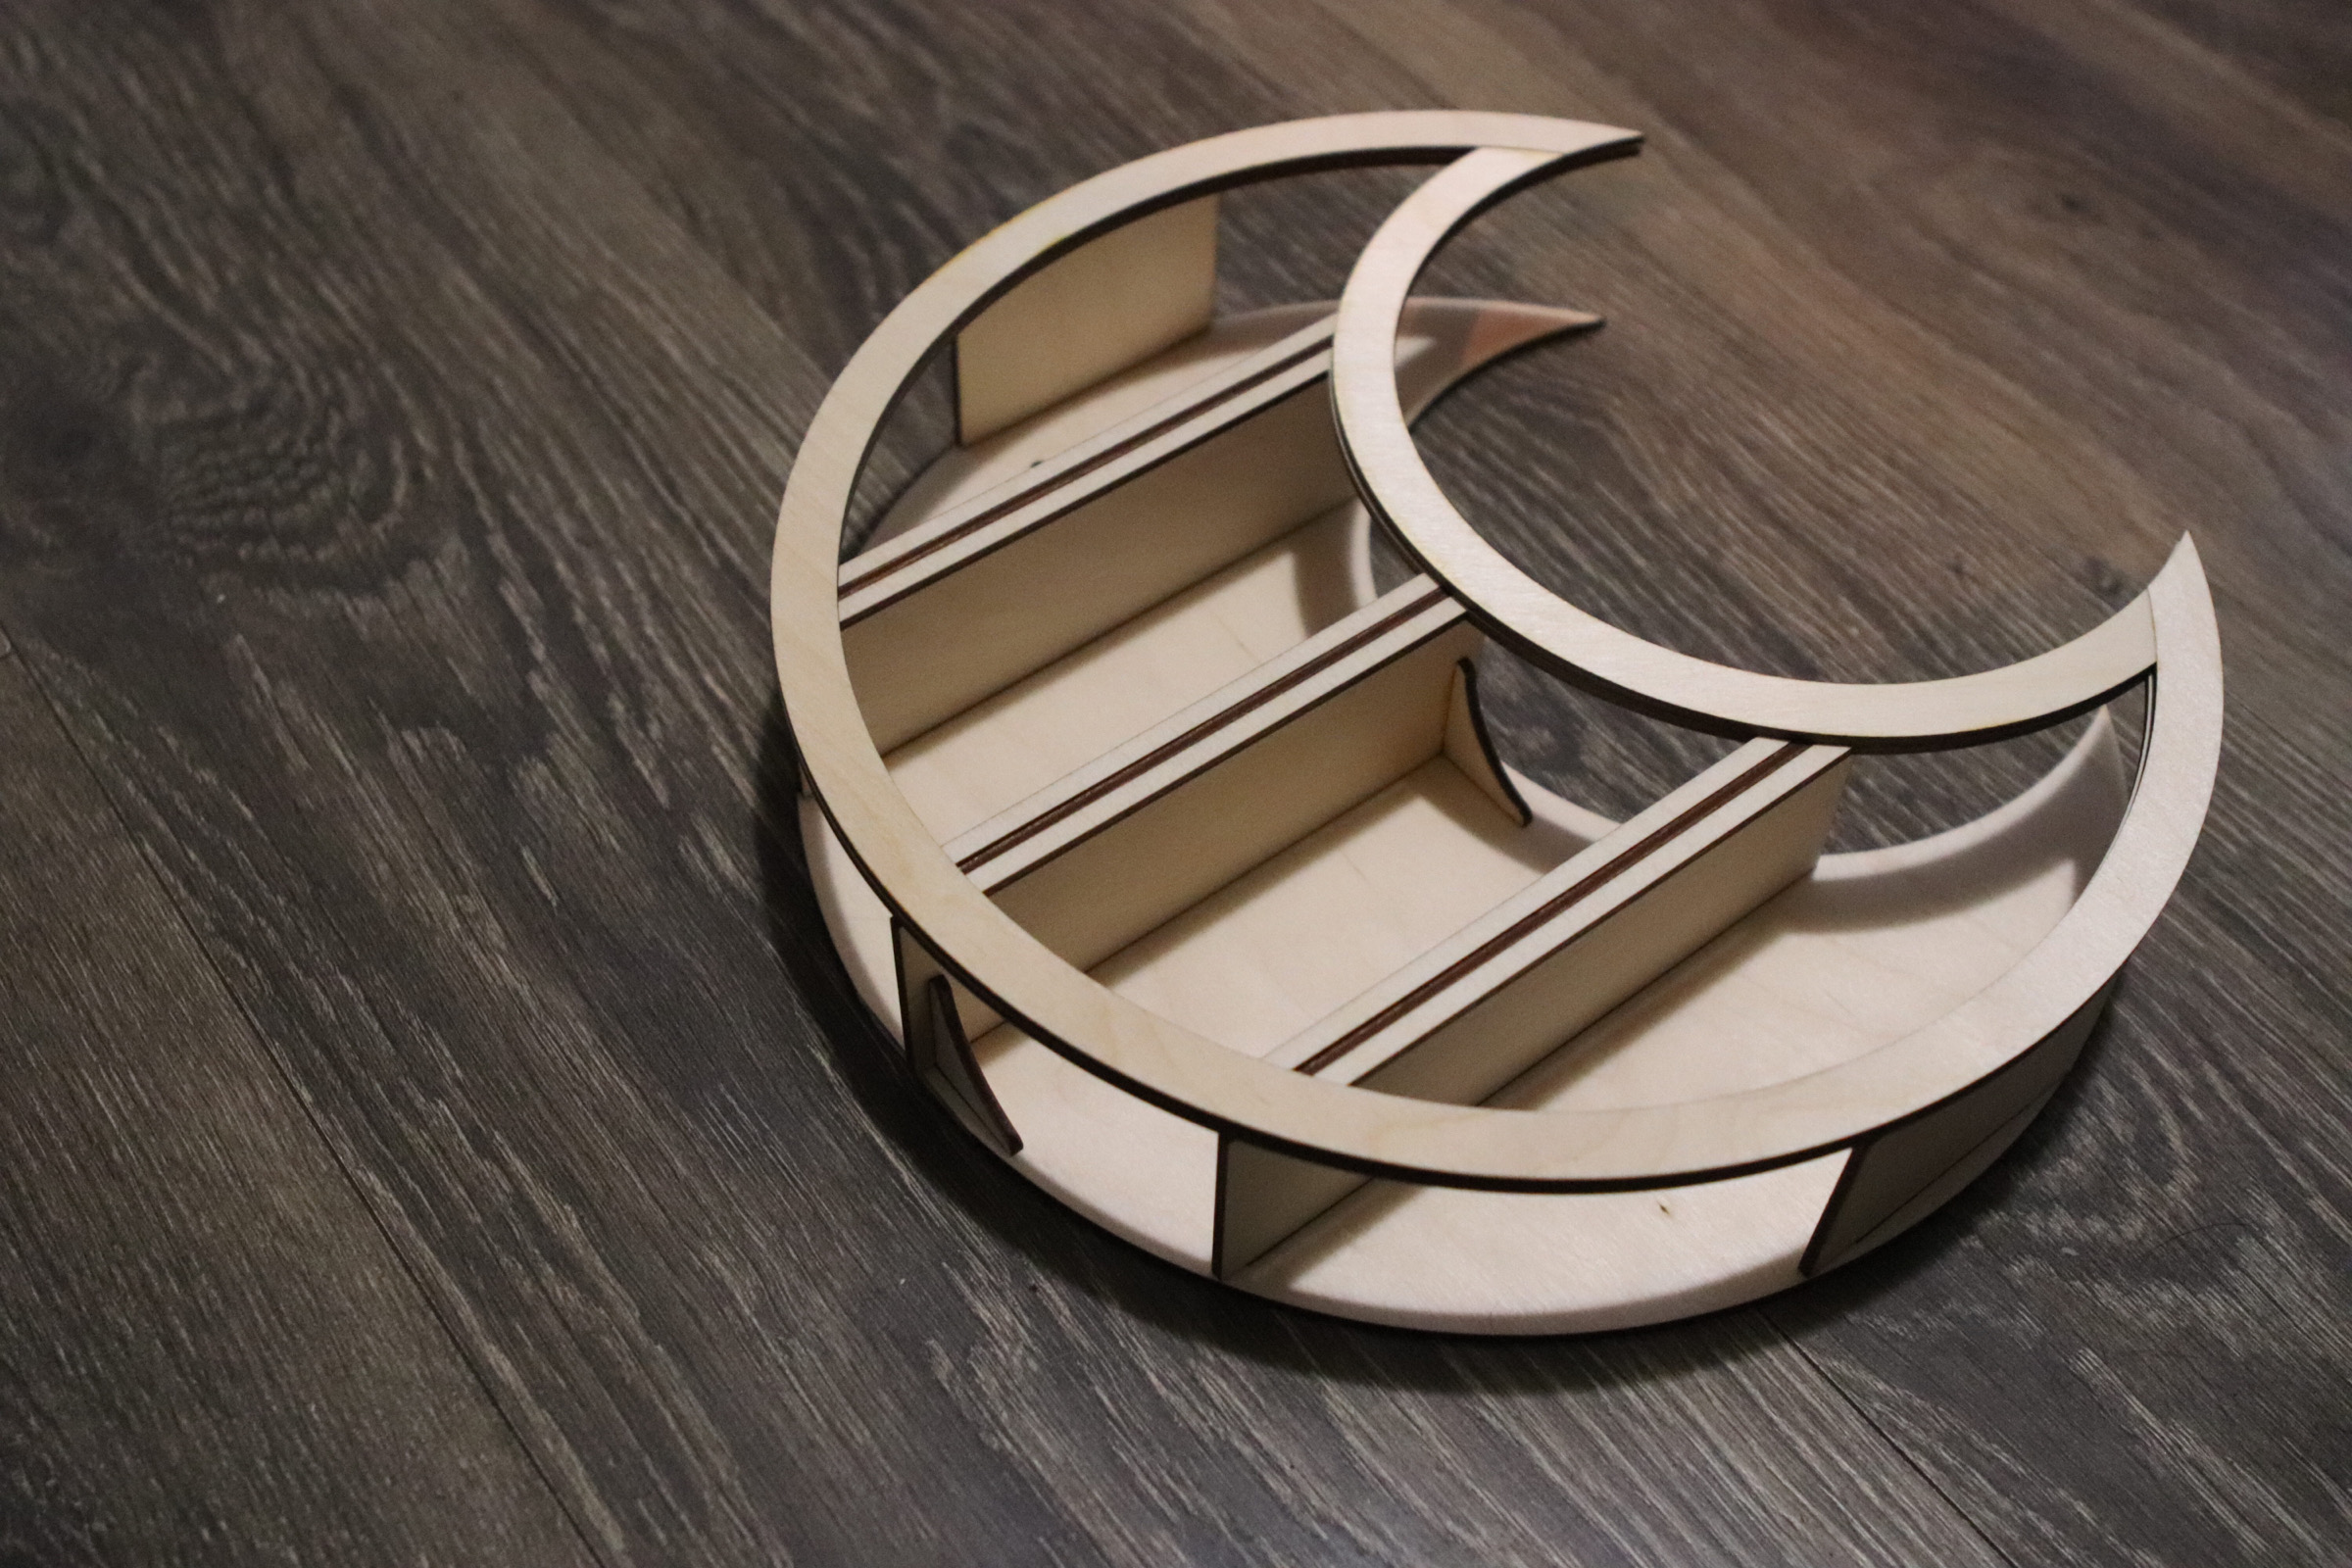
This is what it looks like.
I have had a few varieties of birds approach it so far. The Eastern Bluebirds are wary but I am hoping they’ll come around.
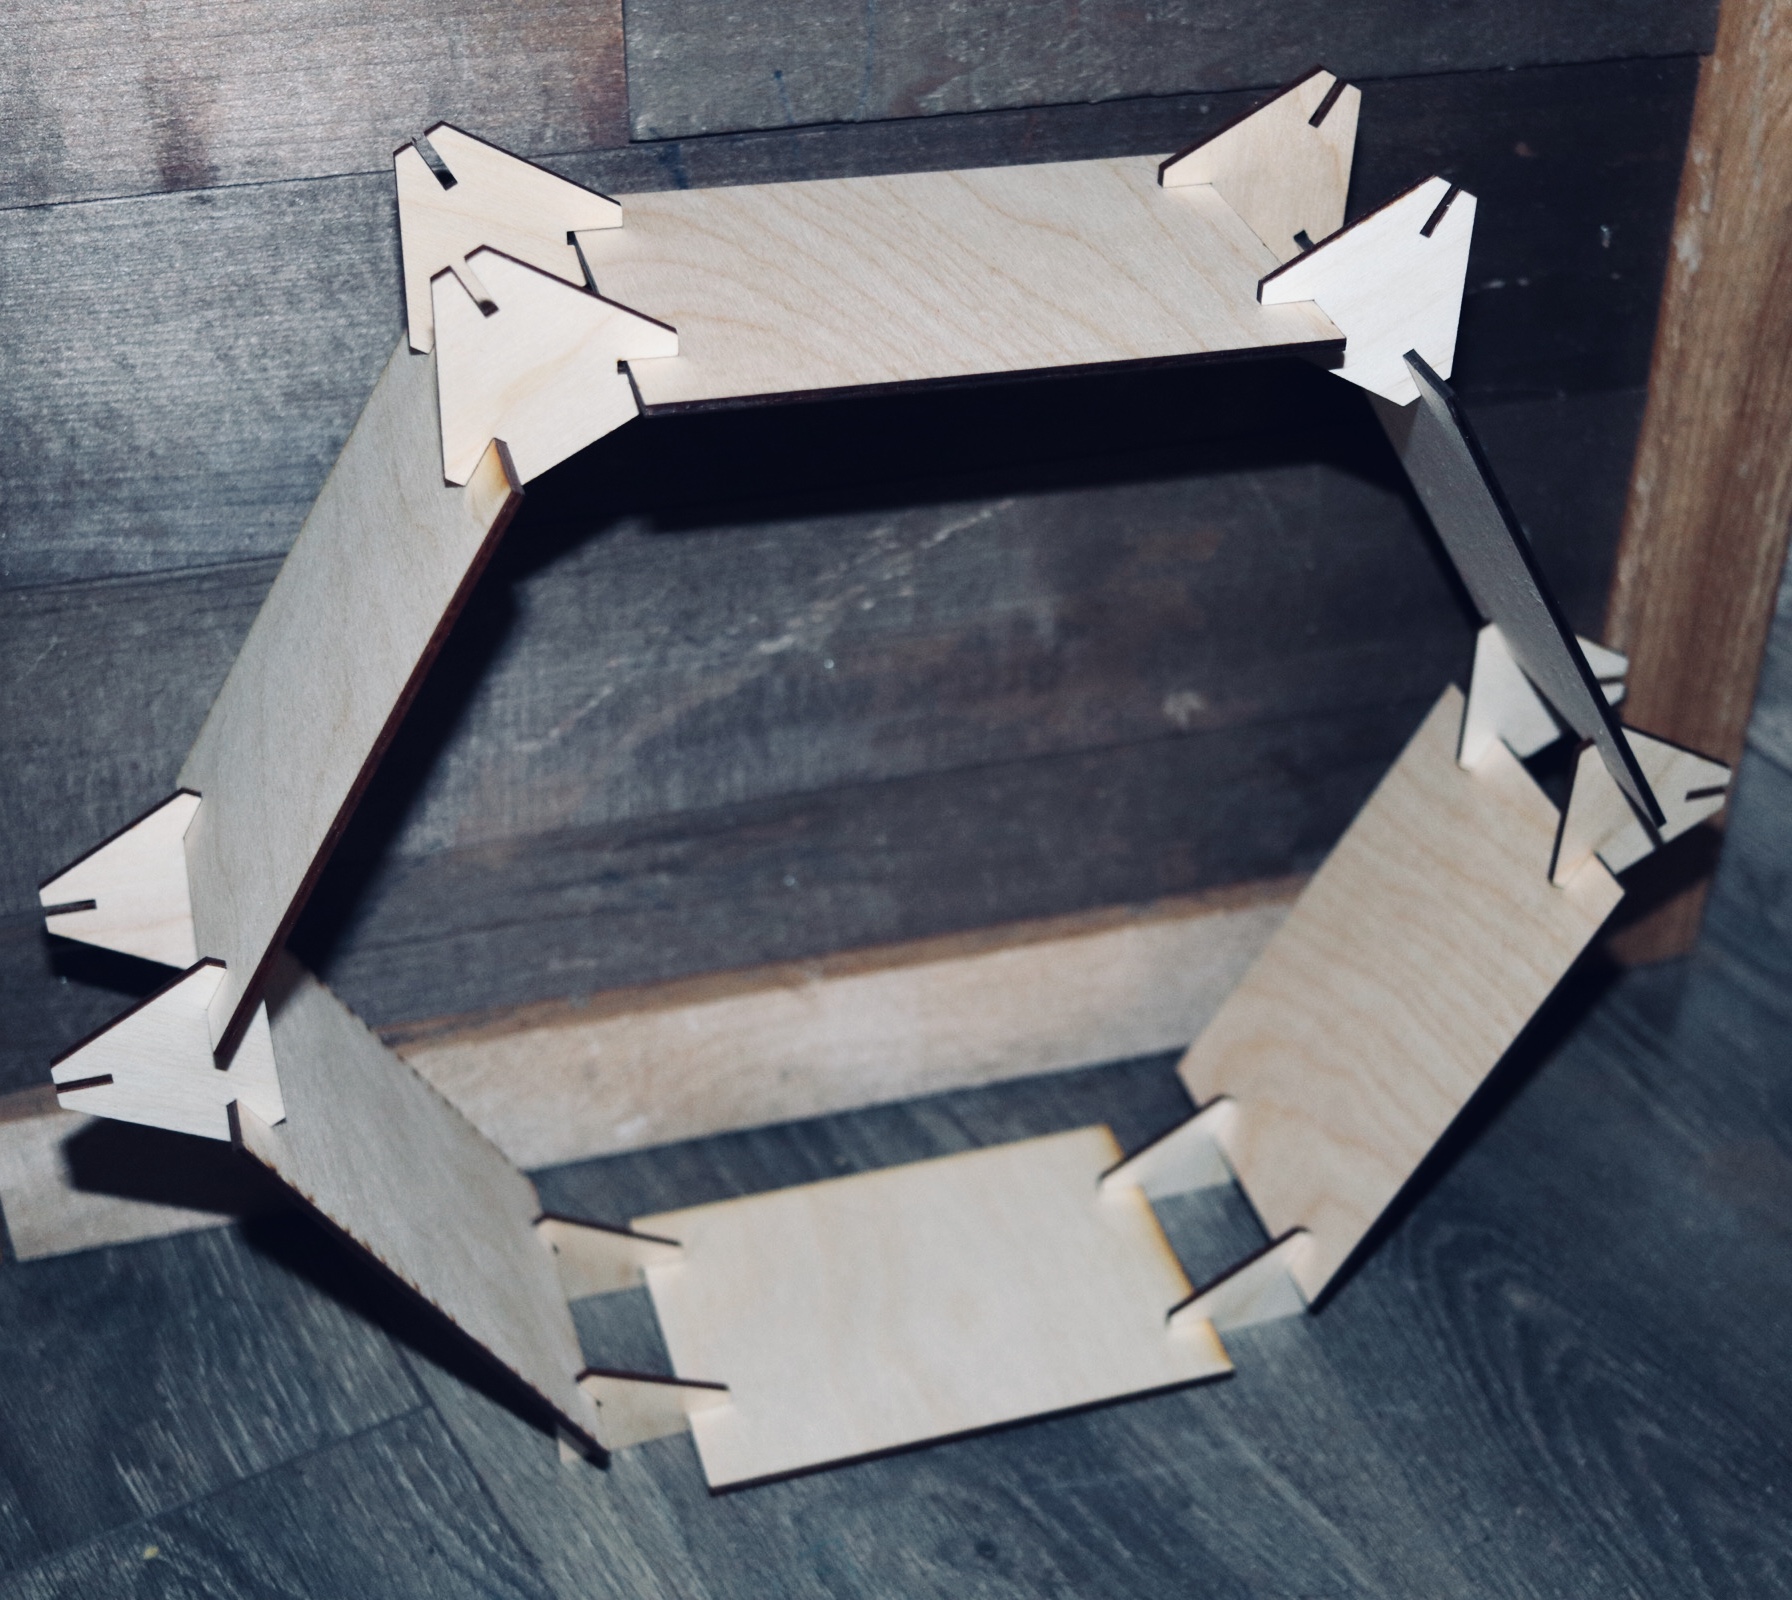
Assembly is really easy.
Download the instructions here if you want to see how its made before purchasing.
Bird Feeder Digital Download Instructions (22038 downloads )Join the mailing list to be notified of future Free files, Paid files, or Training Videos!
You can purchase the file from my site by clicking the ‘Shop Now’ button below or find it on Etsy soon.

Bird Feeder Digital Download
Some details
This file was made for wood supplied from https://amzn.to/3oyG8Xq #ad. When I do, my cuts interlock best when I design for a material thickness of .115 inches.
I tried a new tape this time too. It is from here https://amzn.to/3Nt9d0E #ad. I will have to use this a few more times before I can get a real review for you but so far I like it. I will say, It does NOT adhere as well as other products and that is partially what I like about it. It does the job of preventing smoke and burn marks and then comes right off.
Some dimensions
The material thickness this is dimensioned for is 1/8 inch (.125) and it works great. There is also a file for .115 inches which is what I used and the press fit was so good I didn’t need to use glue. Reach out to me if you need it adjusted though and I will do what I can. The dimensions for this can only be adjusted so much because of the nature of the design but I always do what I can for people.
The entire design is 11 inches tall, 6.75 wide, and 6.75 deep thick.
I will be using my batch conversion trick to turn all of my SVG’s into PNG and PDF’s on this file. If you haven’t learned the trick, its a real time saver. Take a look here.
This will require a few pieces, I can’t remember exactly, of standard 12X20 inch laser sheets with some leftover.
Drop your thoughts in the comments below or join the conversation on Facebook in the Glowforge Creators group.


As an Amazon Associate I earn from qualifying purchases.